
Most people think selling a home remotely sounds complicated. But honestly, a lot of cash buyers today can make you a real offer without ever stepping foot inside your house. The trick is giving them the right photos. Not fancy ones, not professionally staged ones. Just clear, honest pictures that show them what they are actually buying. Here is exactly how to do that.
What Assessment Photos Actually Are and Why They Matter
Assessment photos are not the same as listing photos. Listing photos are designed to make your home look its best. Assessment photos are meant to show the real condition of the property so a cash buyer can evaluate it fairly and quickly from a distance.
When a cash buyer looks at your assessment photos, they are trying to answer a few basic questions. What shape is the roof in? Are the floors damaged? Is there any visible water damage? How old does the HVAC system look? The more clearly your photos answer those questions, the faster they can make you a solid offer.
This is one of the biggest reasons cash sales can move so fast. According to the Consumer Financial Protection Bureau, the condition of a home plays a major role in the offer and closing process. Good documentation of that condition upfront removes a lot of back-and-forth later.
The Equipment You Actually Need to Get Started
You do not need a professional camera. Your smartphone is more than enough. Modern phones take sharp, clear photos in most lighting conditions, and that is all you really need here.
What you do need is good lighting. Natural daylight is your best friend. Open every curtain and blind before you shoot. Turn on all the lights in darker rooms. Avoid shooting directly into windows because it will make everything else in the photo look dark.
A few other things that help. Make sure your lens is clean. A smudged phone camera will make every photo look blurry and unprofessional. Give yourself a wide stance when shooting rooms so you can fit more of the space into the frame. And try to keep your phone level so photos do not look tilted or off-balance.
Room by Room Breakdown of What to Photograph
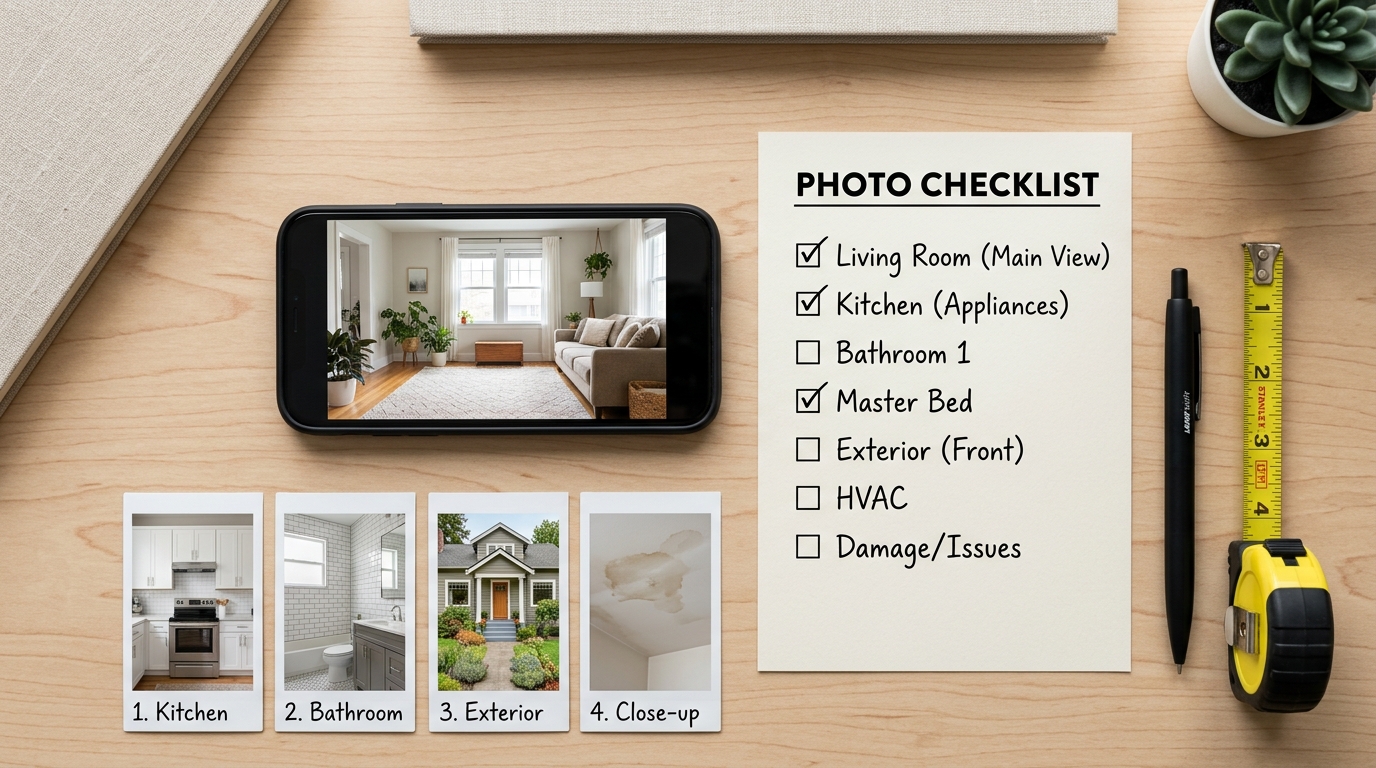
Walk through your home the same way a buyer would if they were visiting in person. Start outside and work your way in. Here is what to capture in each area.
- Exterior front and back. Take photos from the street showing the full front of the home. Get close-up shots of the roof line, gutters, siding, and foundation if visible.
- Roof. If you can safely photograph it from a ladder or from ground level, do so. Even a partial view of the roof condition is helpful.
- Kitchen. Shoot from the corner of the room to get a full view. Include the cabinets, countertops, appliances, and flooring in one or two wide shots.
- Bathrooms. Include the toilet, sink, tub or shower, and any visible water stains or damage around the base of fixtures.
- Bedrooms. One wide shot from the doorway is usually enough unless there is damage worth showing.
- Living and dining areas. Wide shots work best. Focus on floors, ceilings, and any visible cracks or stains.
- Basement and attic if accessible. These are important for showing structural condition, insulation, and any moisture issues.
- HVAC, water heater, and electrical panel. Get a clear photo of each with the model or age visible if possible.
- Any known damage or problem areas. Do not hide these. Show water stains, cracks, damaged flooring, or anything that needs attention. Cash buyers expect issues. Hiding them only causes problems later.
How Many Photos You Should Send
There is no perfect number, but somewhere between 30 and 50 photos usually gives a cash buyer enough to work with. Less than 20 and they may come back with a lot of questions. More than 60 and things can get disorganized.
The most important thing is that every major area of the home is covered. If a cash buyer has to ask you to send more photos of the basement or the roof, that slows everything down. Think of your photos as a visual tour that answers every reasonable question before it gets asked.
What a Good Assessment Photo Set Looks Like vs a Bad One
| Good Assessment Photos | Poor Assessment Photos |
|---|---|
| Well lit, clear, and in focus | Dark, blurry, or taken in bad lighting |
| Full room views from corners or doorways | Close-up shots that miss the full space |
| Show damage honestly and clearly | Damage hidden or shot from bad angles |
| All major systems photographed | HVAC, water heater, panel missing |
| Organized and easy to review | Random, unorganized, mislabeled |
| 30 to 50 photos covering all areas | Under 15 photos, major gaps in coverage |
A well-organized photo set makes you look prepared and trustworthy. It helps the cash buyer feel confident making an offer, and it almost always speeds up the process. If you are thinking about what the offer and closing process actually looks like, the comparison between traditional escrow and cash escrow timelines is worth reading before you get started.
How to Organize and Send Your Photos
Once you have taken all your photos, organize them before you send anything. Put them in a logical order, starting with exterior shots and moving through the home room by room. Label your folders clearly if you are using a file sharing service.
The easiest ways to share photos are through Google Drive, Dropbox, or a simple email with a compressed folder. Avoid sending individual photos one at a time through text messages. It is harder for the buyer to organize and review them that way.
According to the U.S. Department of Housing and Urban Development, detailed property documentation helps smooth the evaluation and appraisal process significantly. Organized photos are part of that documentation.
Common Mistakes to Avoid When Taking Assessment Photos
I have seen sellers send photos where every room looks fine but they skipped the basement entirely. That is the one area the buyer was most concerned about. A few days of back-and-forth followed, and the deal almost fell apart. Do not let that happen to you.
Here are the most common mistakes people make and how to avoid them. Do not skip hard-to-reach areas like the attic or crawl space. Do not take photos at night or in low light. Do not try to stage or rearrange things to make problems less obvious. And do not forget to include photos of the garage, the driveway, and any outdoor structures like sheds or fences.
Honesty in your photos actually works in your favor. Cash buyers are experienced at seeing problems, and they price for them. Trying to hide something usually just delays the offer or lowers trust.
To learn more about how cash buyers assess a home and what they look for beyond the photos, check out our post on the difference between a professional home buyer and a fix-and-flip investor. And when you are ready to get your offer started, reach out to us here and we can walk you through the process step by step.
If you want more context on the selling process itself, visit our We Buy Houses page to see exactly how we work with sellers from start to finish.
One more thing that makes a difference. According to research shared by the National Association of Realtors, properties with thorough documentation and clear condition disclosure tend to close faster and with fewer disputes. Your photos are part of that disclosure.
Conclusion
Taking good assessment photos does not require any special skills or equipment. You just need a clean phone lens, decent lighting, and the patience to walk through your whole home without skipping anything. Do it right the first time, send organized photos, and you give a cash buyer everything they need to make you a fast, fair offer without ever scheduling a visit. That is a pretty good deal for both sides.
Frequently Asked Questions
Do cash buyers always require assessment photos before making an offer?
Most do, especially for remote offers. Photos allow the buyer to evaluate the property condition without a physical visit. Some buyers may also do a quick video walkthrough call, but photos are almost always the starting point.
Should I edit or filter my assessment photos before sending them?
No. Keep your photos natural and unedited. Filters and brightness adjustments can hide real issues and create problems later. Cash buyers want to see the home as it actually is, not how it looks after a filter.
What if I cannot access certain areas of my home like the attic or roof?
Just let the buyer know which areas you could not photograph and why. They may arrange a brief visit to check those specific spots, or they may factor the unknown condition into their offer. Being upfront about limitations is always better than skipping them without explanation.
How long does it take for a cash buyer to review assessment photos and make an offer?
Most experienced cash buyers can review a full set of photos and come back with an offer within 24 to 48 hours. If your photos are clear and organized, the process usually moves on the faster end of that range.
Can I use photos from a previous listing to send as assessment photos?
You can include them as a reference, but you should also take current photos that reflect the home’s condition today. Old listing photos are often staged and do not show damage or wear that has developed since then. Current, honest photos protect you and the buyer both.